Printer Setup Guide - Step by Step
Now Connect Your Printer Easily
If you are searching for how to connect my printer, struggling with a printer offline issue, or trying to set up a wireless printer, this step-by-step guide will help you complete your printer setup quickly and safely. These instructions are manufacturer-neutral, easy to follow, and created for users looking to connect a printer to Wi-Fi, fix printer scanner setup issues, and troubleshoot common errors like printer not connecting to WiFi or printer paper jam.
Complete Guide: How to Connect Your Printer
Connecting a printer is simple when the steps are followed in the right order. Whether you want to connect a printer to a computer, connect a WiFi printer, or use a wired connection, the instructions below explain everything clearly. No technical background is required.
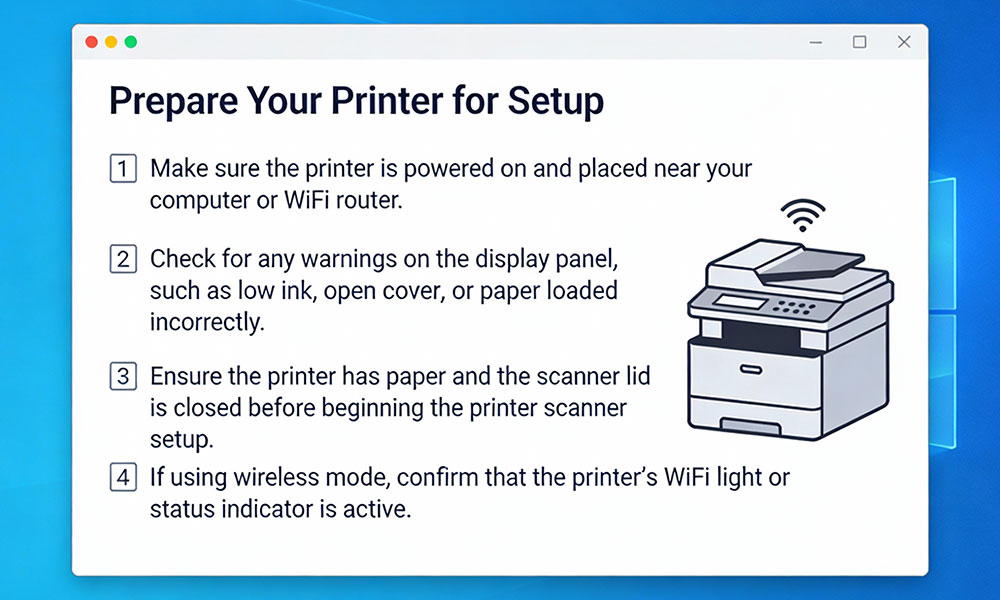
Prepare Your Printer for Setup
- Make sure the printer is powered on and placed near your computer or WiFi router.
- Check for any warnings on the display panel, such as low ink, open cover, or paper loaded incorrectly.
- Ensure the printer has paper and the scanner lid is closed before beginning the printer scanner setup.
- If using wireless mode, confirm that the printer’s WiFi light or status indicator is active.
How to Connect Printer to Computer (Laptop or Desktop)
USB / Wired Setup (Simple & Fast)
- Plug the printer’s USB cable directly into your computer.
- Most devices will automatically recognize the printer and complete the basic installation.
- Print a test page to confirm that the printer setup is successful.
Wireless Setup (WiFi Connection)
- Connect your printer to the same WiFi network as your computer.
- Open your computer’s printer settings and add a new printer.
- Select the correct device once it appears on the list.
- Your computer will automatically complete the basic configuration.
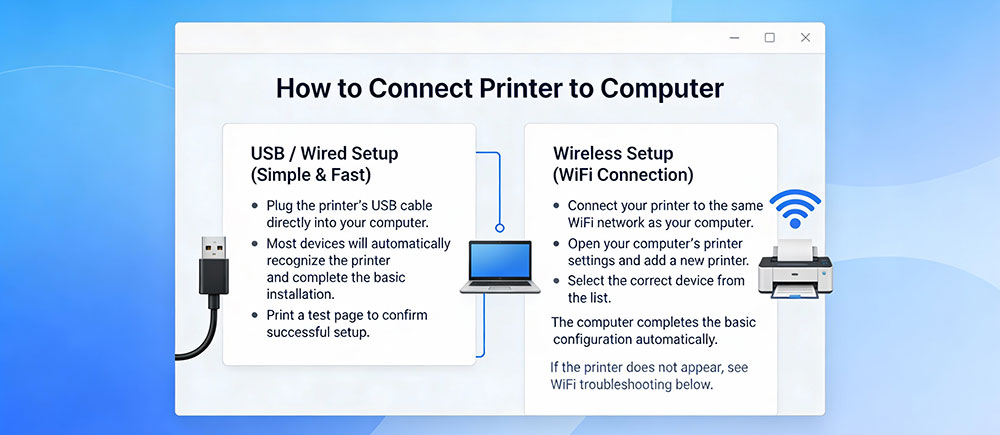
If your printer does not appear during the search, scroll down to the printer not connecting to WiFi troubleshooting section.
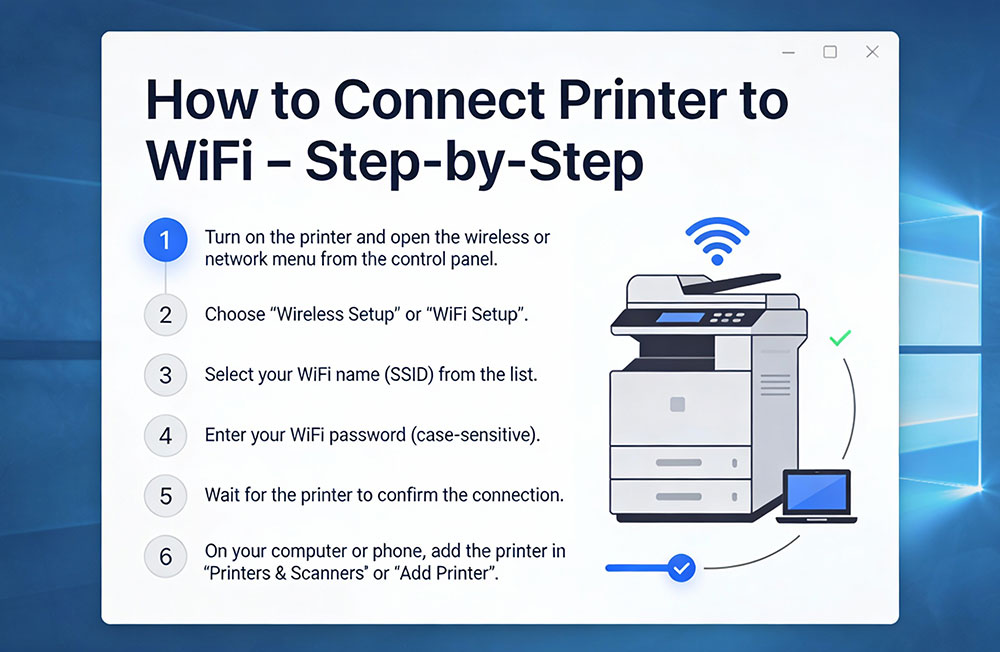
How to Connect Printer to WiFi – Step-by-Step
This section is designed for users searching for Connect printer to WiFi or connect WiFi printer.
- Turn on the printer and open the wireless or network menu from the control panel.
- Choose the option labeled ‘Wireless Setup‘, ‘WiFi Setup‘ or similar.
- Select your WiFi name (SSID) from the list.
- Enter your WiFi password carefully—remember it is case-sensitive.
- Wait for the printer to confirm the connection.
Once connected, you can return to your computer or mobile device and add the printer under ‘Add Printer‘ or ‘Printers & Scanners‘ settings. This completes your set up wireless printer process.
Printer Scanner Setup – Getting Your Scanner Working
Many printers come with scanning functions, and users often search for printer scanner setup. Follow these steps:
- Make sure the printer is connected to your computer (USB or WiFi).
- Open your computer’s built-in Scan application.
- Select your printer from the available scanner list.
- Choose the scan type—document, photo, or custom scan.
- Place the document on the scanner bed and start scanning.
Fix “Printer Offline” Issue
If your printer shows ‘printer offline‘ even though it is powered on, use these checks:
- Restart the printer and computer to refresh connections.
- Ensure both devices are on the same WiFi network.
- Remove the printer from your computer settings and add it again.
- Check that the printer is not in “Use Printer Offline” mode in the settings.
Troubleshooting: Printer Not Connecting to WiFi
If your printer refuses to connect or keeps losing connection, follow these steps:
- Verify your WiFi password—it must match exactly, including uppercase/lowercase letters.
- Move the printer closer to your WiFi router during setup.
- Restart your modem, router, and printer.
- Check whether your WiFi network is 2.4 GHz; many printers do not support 5 GHz networks.
- If the printer still won’t connect, perform a network reset from the printer’s settings panel.
How to Fix a Printer Paper Jam?
“Printer paper jam” is one of the most common errors. Here is the safe way to clear it:
- Turn off the printer and disconnect the power cable.
- Open all printer doors and trays carefully—avoid pulling too hard.
- Remove any torn pieces of paper gently.
- Check rollers for bits of paper or dust build-up.
- Reload clean paper and restart the printer.
Never use sharp tools or force when removing jammed paper—this can damage internal parts.
Final Step: Test Your Printer
Once you finish your printer setup, do a quick test:
- Print a test page.
- Scan a one-page document.
- Try printing from different devices, such as computer and mobile.
Disclaimer: refubwebprintingshop.store is an independent provider of services and informational content. It is not associated with, endorsed by, or affiliated with any particular brand, product, or software. Any products mentioned may also be available directly from their respective brand owners’ websites. This site does not intentionally provide external links, and any brand names or product logos displayed are used solely for identification and illustrative purposes. If any external link is found, please notify the site so it can be removed, as the site is not responsible for the content of third‑party pages.

Get always best deals at our store
Quick Links
Get In Touch
7 Rushmore Cres Brampton, On, L6Z 1R1
- Email: Support@refubwebprintingshop.store
- Phone: 854-745-9854
- Hours: Mon-Fri 9:00AM - 5:00PM
© 2026 All Rights Reserved.